When setting up an iOS device (e.g. iPhone, iPad) on SoldierNET, the information on this page should help.
How do I set up my SNET connection for the first time?
When you first join SNET and register an account you will need to get iOS devices registered to your account using what is called the Wireless MAC Address. This MAC address is a unique string of 12 alphanumeric characters, and is listed as the Wi-Fi Address on iOS.
How do I register the device MAC Address to my SoldierNET account?
Once you have set up your account and applied credit, you will be able to
contact our Support Team who will register your device for you. You can call or email with the details of your SNET username, device type (iPhone 7, iPad Pro) and the Wireless MAC Address, and we will register your device to the network. Once it has been registered you should be able to connect to any SNET network automatically.
I don’t know where to find my Wireless MAC Address for registration?
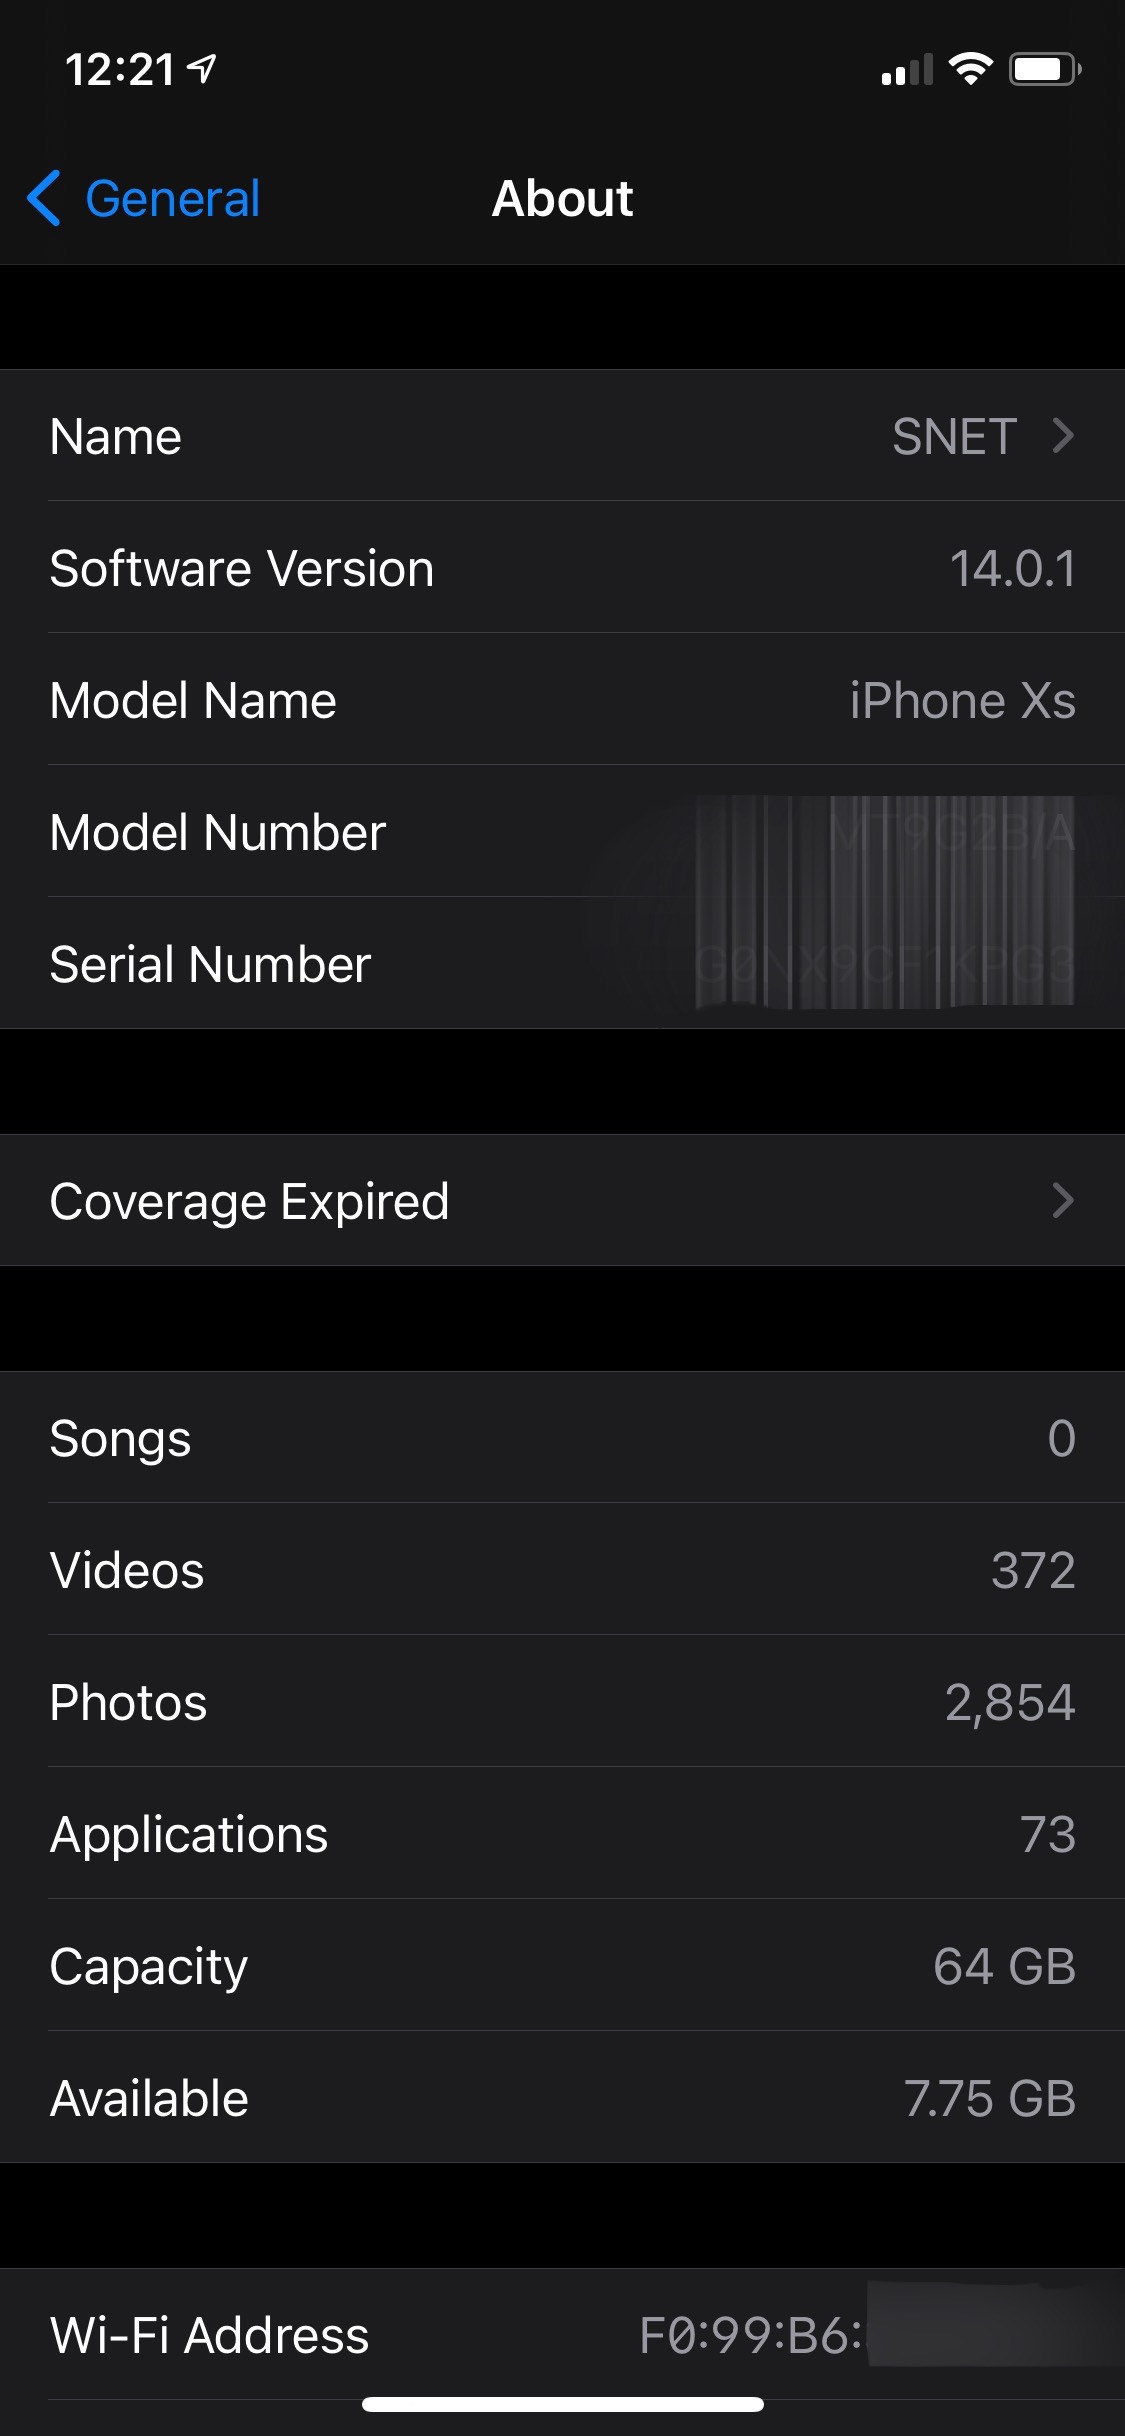
To find the MAC Address on an iPhone or iPad you must go into the device Settings. From here you navigate to General, then About. The MAC Address will be listed on the About page under the name WiFi Address, and be in the format ’00:00:00:00:00:00′.
A picture of the About section of iOS Settings can be seen in the photo to the right of this text, and the Wi-Fi Address location can be seen at the bottom of this image.
My devices are registered, but I can’t connect to SNET?
This may be due to having iOS 14 or later installed on your device. This version of iOS has introduced a new ‘Private Address’ setting, which refers to the Wireless MAC Address for your device. This is designed to hide your MAC Address and replaces it with a temporary randomized MAC.
The setting makes it impossible for our network to recognise your device, and so must be turned off.
 So how can I connect with iOS 14?
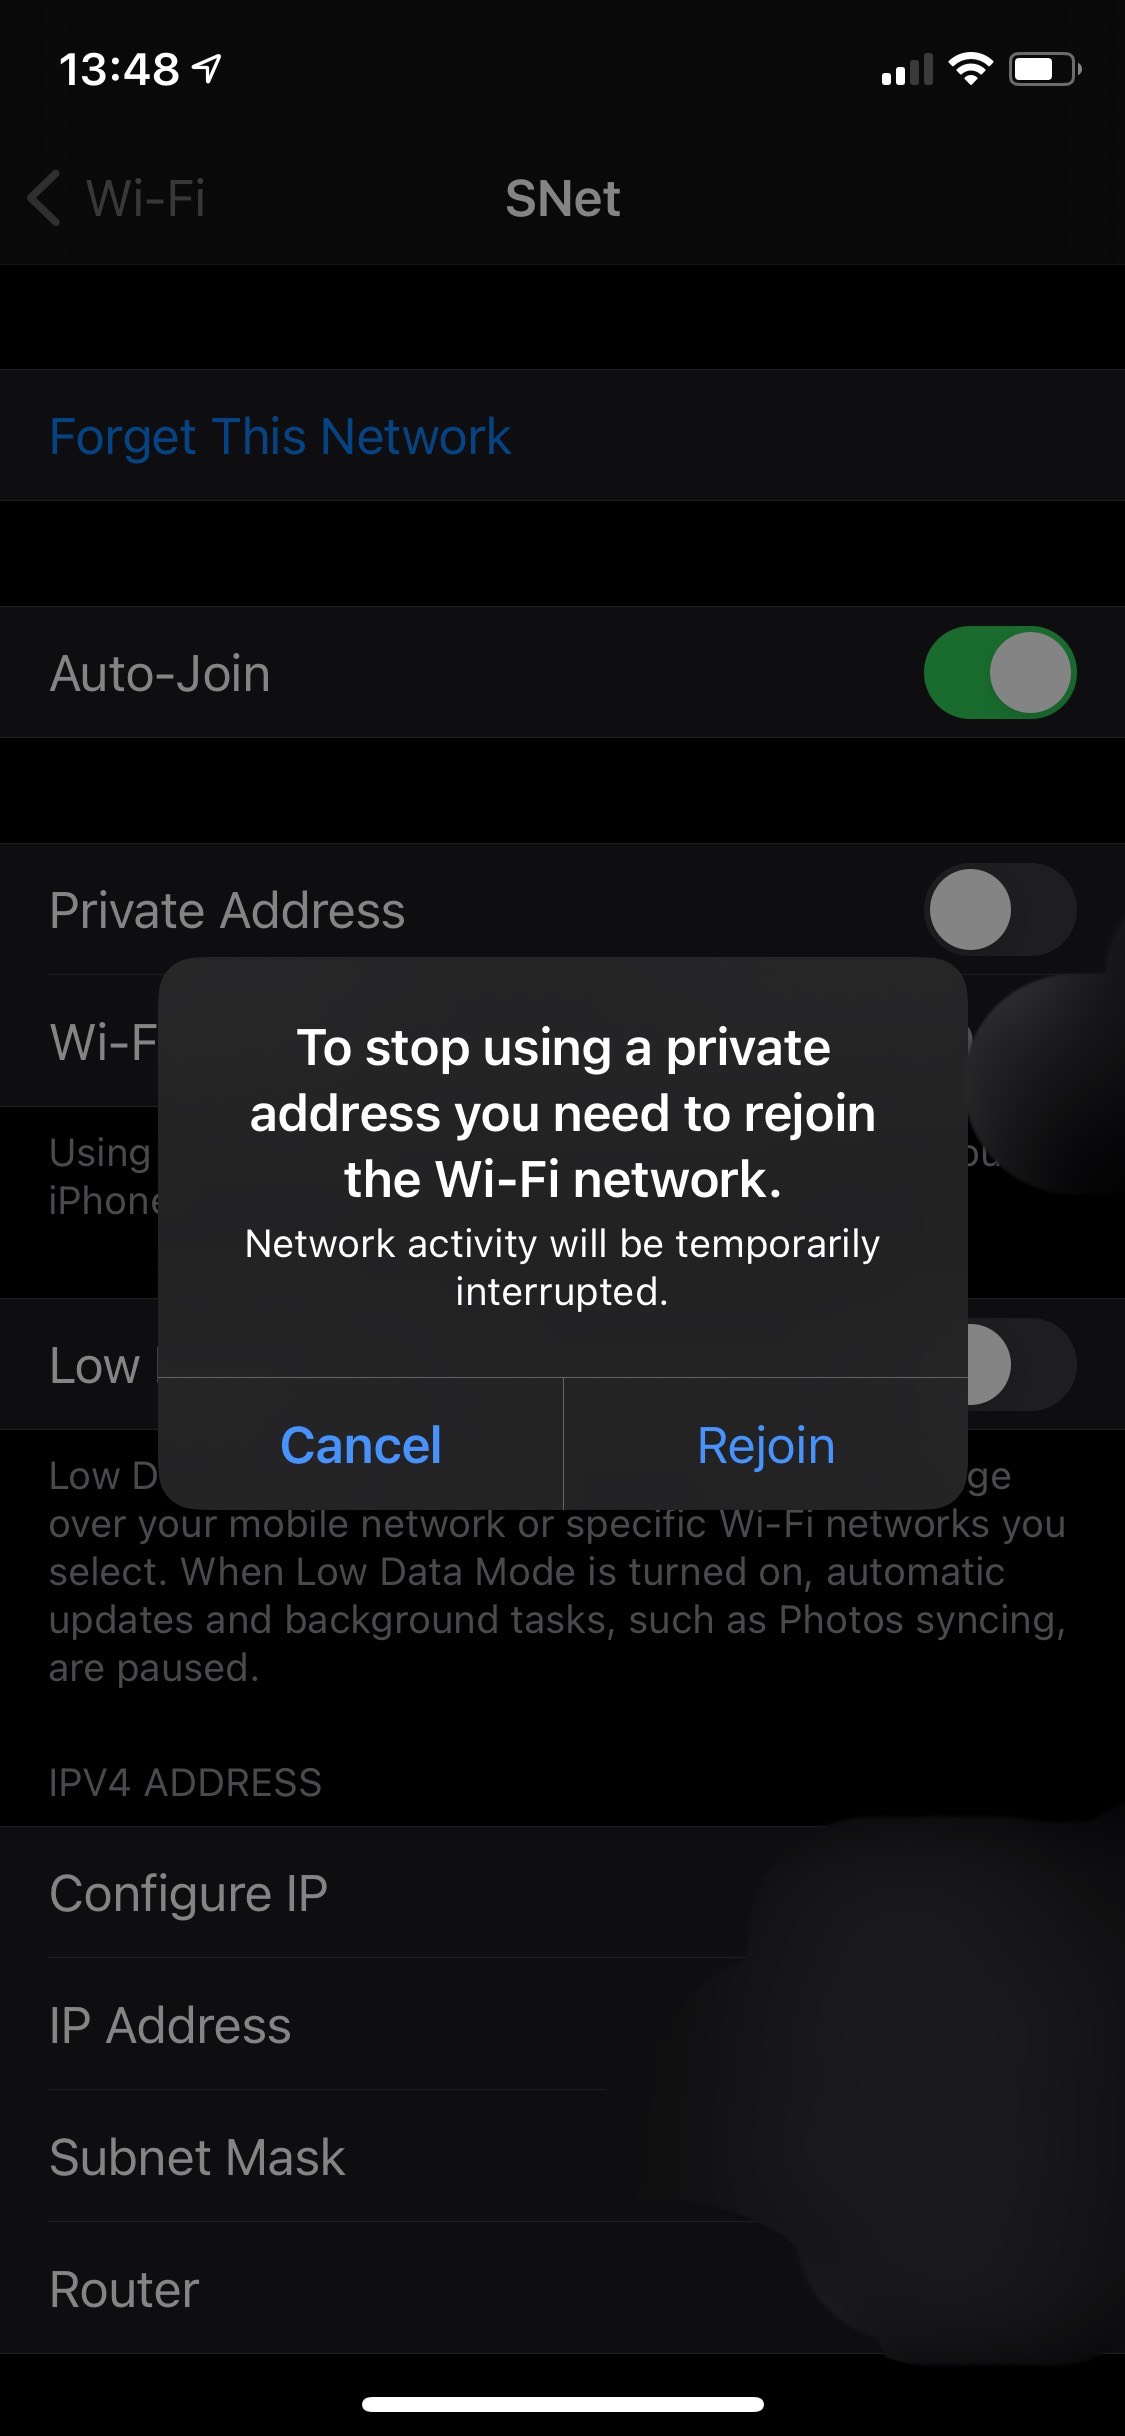
Connecting with iOS 14 requires you to go into your Settings, then Wi-Fi. You should now see the SNET network. On the right of each SNET network there should be a blue information (‘i’) button. Click this for your desired SNET connection and you should see the screen shown in the image to the left.
Within the information section you must:
Turn AutoJoin on
Turn Private Address off.
 After turning off Private Address I have been disconnected?
This is to allow your network connection to be established using your device MAC Address. A reconnect is required now that you aren’t using the Private Address your device had generated. This will only happen the first time you connect to our network after updating to iOS 14. In the event that a pop-up appears as shown to the right, hitting ‘Rejoin’ will reestablish your connection securely. If you do not see this prompt you can still disconnect from the network and rejoin SNET manually.
I still can’t connect to SNET?
If you are still experiencing problems connecting after following all of the advice above please contact our
Support Team.